Jirav Admins can invite other users to access your Jirav model to share data and collaborate. Each user will be assigned a role that dictates what actions they can perform and what information they can view within the Jirav platform.
Manage Users
To manage users, go to Settings ⚙️ > Users:

Add a New User
To add a new user, locate the Users section and select ADD USER.

You'll then be prompted to add the new User's email address, assign them a Role, and add an optional message.

Selecting "ADD" will send an email to the user with a link to sign in to Jirav and set up their secure user password. You'll also receive a pop-up confirmation message letting you know the user was invited successfully.

Resend the invitation by selecting the ellipsis (. . .) to the right of the User and choose Send Reminder.

Remove an Existing User
To remove a User, select the ellipsis (. . .) to the right of the User and choose Remove.

User Login
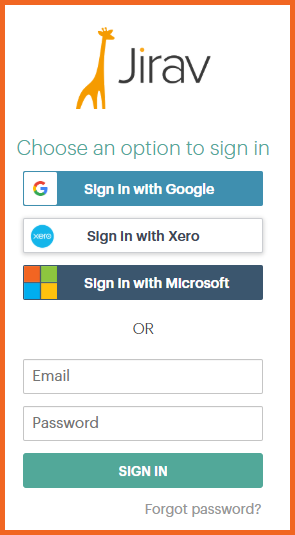
If the user does not have one of the single sign-on accounts, they should sign up with their email address, name, and a secure password.

External Users
External users are individuals who do not contribute to the limit of Admins and Editors permitted within the account. This includes users with an email address ending in @jirav.com. Additionally, for accounting partners, any user associated with your firm's domain is also classified as an external user.

Additional Resources: